Difference between revisions of "Water Portal / Rainwater Harvesting / Groundwater recharge"
From Akvopedia
(Updating links) |
|||
| Line 13: | Line 13: | ||
|colspan="5" style="background-color:#efefef;"| | |colspan="5" style="background-color:#efefef;"| | ||
|- | |- | ||
| − | |style="background:#efefef;"|[[Image:aquifer rch icon.png|center|link= | + | |style="background:#efefef;"|[[Image:aquifer rch icon.png|center|link=Infiltration ponds]] |
| − | |style="background:#efefef;"|[[Image:contour trch icon.png|center|link= | + | |style="background:#efefef;"|[[Image:contour trch icon.png|center|link=Contour trenches]] |
| − | |style="background:#efefef;"|[[Image:contour ridges icon.png|center|link= | + | |style="background:#efefef;"|[[Image:contour ridges icon.png|center|link=Contour ridges]] |
| − | |style="background:#efefef;"|[[Image:bunds icon.png|center|link= | + | |style="background:#efefef;"|[[Image:bunds icon.png|center|link=Bunds]] |
| − | |style="background:#efefef;"|[[Image:perm rock dam icon.png|center|link= | + | |style="background:#efefef;"|[[Image:perm rock dam icon.png|center|link=Permeable rock dams]] |
|- | |- | ||
| − | |style="background:#efefef;"|[[Image:infiltration ponds small.jpg|center|130px|link= | + | |style="background:#efefef;"|[[Image:infiltration ponds small.jpg|center|130px|link=Infiltration ponds]] |
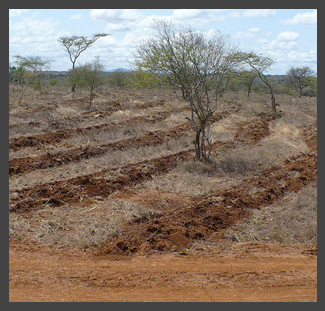
| − | |style="background:#efefef;"|[[Image:contour trench small.jpg|center|130px|link= | + | |style="background:#efefef;"|[[Image:contour trench small.jpg|center|130px|link=Contour trenches]] |
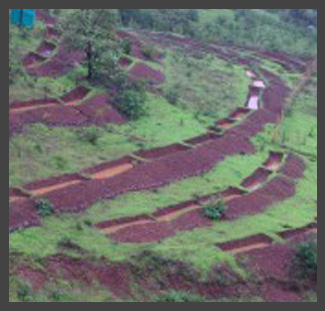
| − | |style="background:#efefef;"|[[Image:contour ridges small.jpg|center|130px|link= | + | |style="background:#efefef;"|[[Image:contour ridges small.jpg|center|130px|link=Contour ridges]] |
| − | |style="background:#efefef;"|[[Image:bunds small.jpg|center|130px|link= | + | |style="background:#efefef;"|[[Image:bunds small.jpg|center|130px|link=Bunds]] |
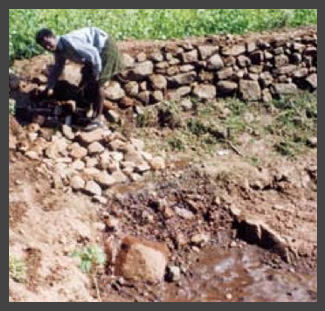
| − | |style="background:#efefef;"|[[Image:permeable rock dam small.jpg|center|130px|link= | + | |style="background:#efefef;"|[[Image:permeable rock dam small.jpg|center|130px|link=Permeable rock dams]] |
|- | |- | ||
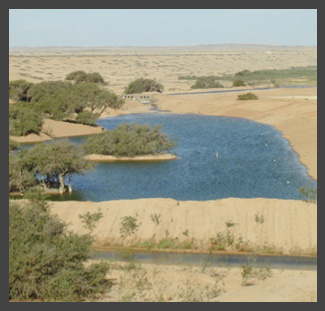
|style="background:#efefef;"|<div class="center" style="width:auto; margin-left:auto; margin-right:auto;">[[Infiltration ponds]]</div> | |style="background:#efefef;"|<div class="center" style="width:auto; margin-left:auto; margin-right:auto;">[[Infiltration ponds]]</div> | ||
| Line 37: | Line 37: | ||
|colspan="5" style="background-color:#efefef;"| | |colspan="5" style="background-color:#efefef;"| | ||
|- | |- | ||
| − | |style="background:#efefef;"|[[Image:94px-Icon_sanddam.png|center|link= | + | |style="background:#efefef;"|[[Image:94px-Icon_sanddam.png|center|link=Sand dam]] |
| − | |style="background:#efefef;"|[[Image:check dams (gully plugs) icon.png|center|link= | + | |style="background:#efefef;"|[[Image:check dams (gully plugs) icon.png|center|link=Check dams %28gully plugs%29]] |
| − | |style="background:#efefef;"|[[Image:leaky dams icon.png|center|link= | + | |style="background:#efefef;"|[[Image:leaky dams icon.png|center|link=Leaky dams]] |
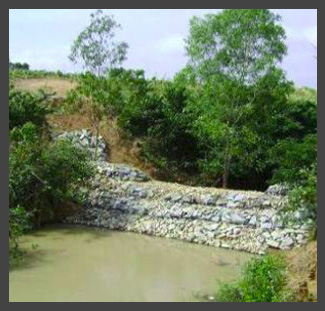
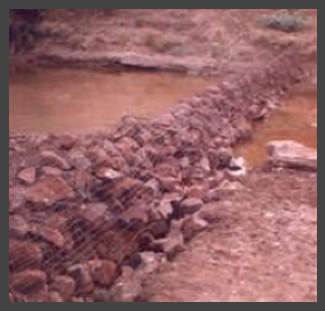
| − | |style="background:#efefef;"|[[Image:gabions icon.png|center|link= | + | |style="background:#efefef;"|[[Image:gabions icon.png|center|link=Gabions]] |
| − | |style="background:#efefef;"|[[Image:controlled flooding icon.png|center|link= | + | |style="background:#efefef;"|[[Image:controlled flooding icon.png|center|link=Controlled flooding / Spreading basins]] |
|- | |- | ||
| − | |style="background:#efefef;"|[[Image:sand dam small.jpg|center|130px|link= | + | |style="background:#efefef;"|[[Image:sand dam small.jpg|center|130px|link=Sand dam]] |
| − | |style="background:#efefef;"|[[Image:check dam small.jpg|center|130px|link= | + | |style="background:#efefef;"|[[Image:check dam small.jpg|center|130px|link=Check dams %28gully plugs%29]] |
| − | |style="background:#efefef;"|[[Image:leaky dam small.jpg|center|130px|link= | + | |style="background:#efefef;"|[[Image:leaky dam small.jpg|center|130px|link=Leaky dams]] |
| − | |style="background:#efefef;"|[[Image:gabion small.jpg|center|130px|link= | + | |style="background:#efefef;"|[[Image:gabion small.jpg|center|130px|link=Gabions]] |
| − | |style="background:#efefef;"|[[Image:controlled flooding small.jpg|center|130px|link= | + | |style="background:#efefef;"|[[Image:controlled flooding small.jpg|center|130px|link=Controlled flooding / Spreading basins]] |
|- | |- | ||
|style="background:#efefef;"|<div class="center" style="width:auto; margin-left:auto; margin-right:auto;">[[Sand dam]]</div> | |style="background:#efefef;"|<div class="center" style="width:auto; margin-left:auto; margin-right:auto;">[[Sand dam]]</div> | ||
| Line 61: | Line 61: | ||
|colspan="5" style="background-color:#efefef;"| | |colspan="5" style="background-color:#efefef;"| | ||
|- | |- | ||
| − | |style="background:#efefef;"|[[Image:tube recharge icon.png|center|link= | + | |style="background:#efefef;"|[[Image:tube recharge icon.png|center|link=Tube recharge]] |
| − | |style="background:#efefef;"|[[Image:infiltration wells.png|center|link= | + | |style="background:#efefef;"|[[Image:infiltration wells.png|center|link=Infiltration wells]] |
| − | |style="background:#efefef;"|[[Image:Wells,_shafts,_and_boreholes_icon.png|center|link= | + | |style="background:#efefef;"|[[Image:Wells,_shafts,_and_boreholes_icon.png|center|link=Wells, shafts, and boreholes]] |
|style="background:#efefef;"| | |style="background:#efefef;"| | ||
|style="background:#efefef;"| | |style="background:#efefef;"| | ||
|- | |- | ||
| − | |style="background:#efefef;"|[[Image:tube recharge small.jpg|center|130px|link= | + | |style="background:#efefef;"|[[Image:tube recharge small.jpg|center|130px|link=Tube recharge]] |
| − | |style="background:#efefef;"|[[Image:Infiltration_well small.JPG|center|130px|link= | + | |style="background:#efefef;"|[[Image:Infiltration_well small.JPG|center|130px|link=Infiltration wells]] |
| − | |style="background:#efefef;"|[[Image:wells, shafts, boreholes small.jpg|center|130px|link= | + | |style="background:#efefef;"|[[Image:wells, shafts, boreholes small.jpg|center|130px|link=Wells, shafts, and boreholes]] |
|style="background:#efefef;"| | |style="background:#efefef;"| | ||
|style="background:#efefef;"| | |style="background:#efefef;"| | ||
Revision as of 17:03, 27 May 2013
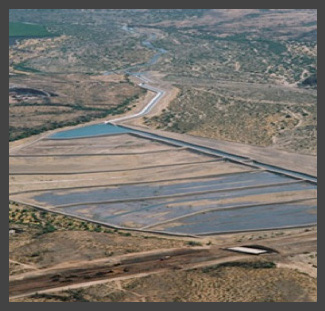
Groundwater recharge is the enhancement of natural ground water supplies using man-made conveyances such as infiltration basins, trenches, dams, or injection wells. Aquifer storage and recovery (ASR) is a specific type of groundwater recharge practiced with the purpose of both augmenting ground water resources and recovering the water in the future for various uses.
Climate change considerations
- More storage capacity needed to overcome seasonal dry periods and to reduce floods.
- Higher rainfall intensities may exceed infiltration capacities. Create storage, enhanced infiltration or artificial recharge.
- Lower rainfall results in the need for transport and storage of water from other areas.
- Changes in vegetation will cause changes in evapotranspiration, surface runoff, erosion and sediment transport/deposition. This requires water and soil conservation measures, like terracing.
 |
 |
 |
 |
 |
 |
 |
 |
 |
 |
 |
||||
 |
 |
 |
||
Groundwater recharge links
- Sustainable Development of Groundwater Resources in Southern and Eastern Africa. International Atomic Energy Agency.
- Rainwater Harvesting and Utilisation. or (alternative link). Blue Drop Series: Book 2: Beneficiaries & Capacity Builders. UN-HABITAT.
- Managed Aquifer Recharge (MAR)
Acknowledgements
- Tuinhof, Albert and Heederik, Jan Piet. Management of Aquifer Recharge and Subsurface Storage or (alternative link). Netherlands National Committee for the IAH and Netherlands Hydrological Society. 2002.
- Aquifer Recharge (AR) and Aquifer Storage & Recovery (ASR). United States EPA.
- Management of Ground Water in Africa Including Transboundary Aquifers: Implications for Food Security, Livelihood and Climate Change Adaptation. United Nations Economic Commission for Africa, African Climate Policy Centre, 2011.
- CARE Nederland, Desk Study: Resilient WASH systems in drought-prone areas. October 2010.
