Difference between revisions of "How to build an akvopedia page"
(→Step 2 - Adding text) |
(→Step 2 - Adding text) |
||
| Line 46: | Line 46: | ||
| − | You can simply 'copy' the format and 'paste' it in the new akvopedia page that you created | + | You can simply 'copy' the format and 'paste' it in the new akvopedia page that you created via the search field and edit option. You can then add your information, related external links and pictures. |
The page will hold the title that you entered in the search field. | The page will hold the title that you entered in the search field. | ||
Revision as of 13:17, 11 June 2008
Contents
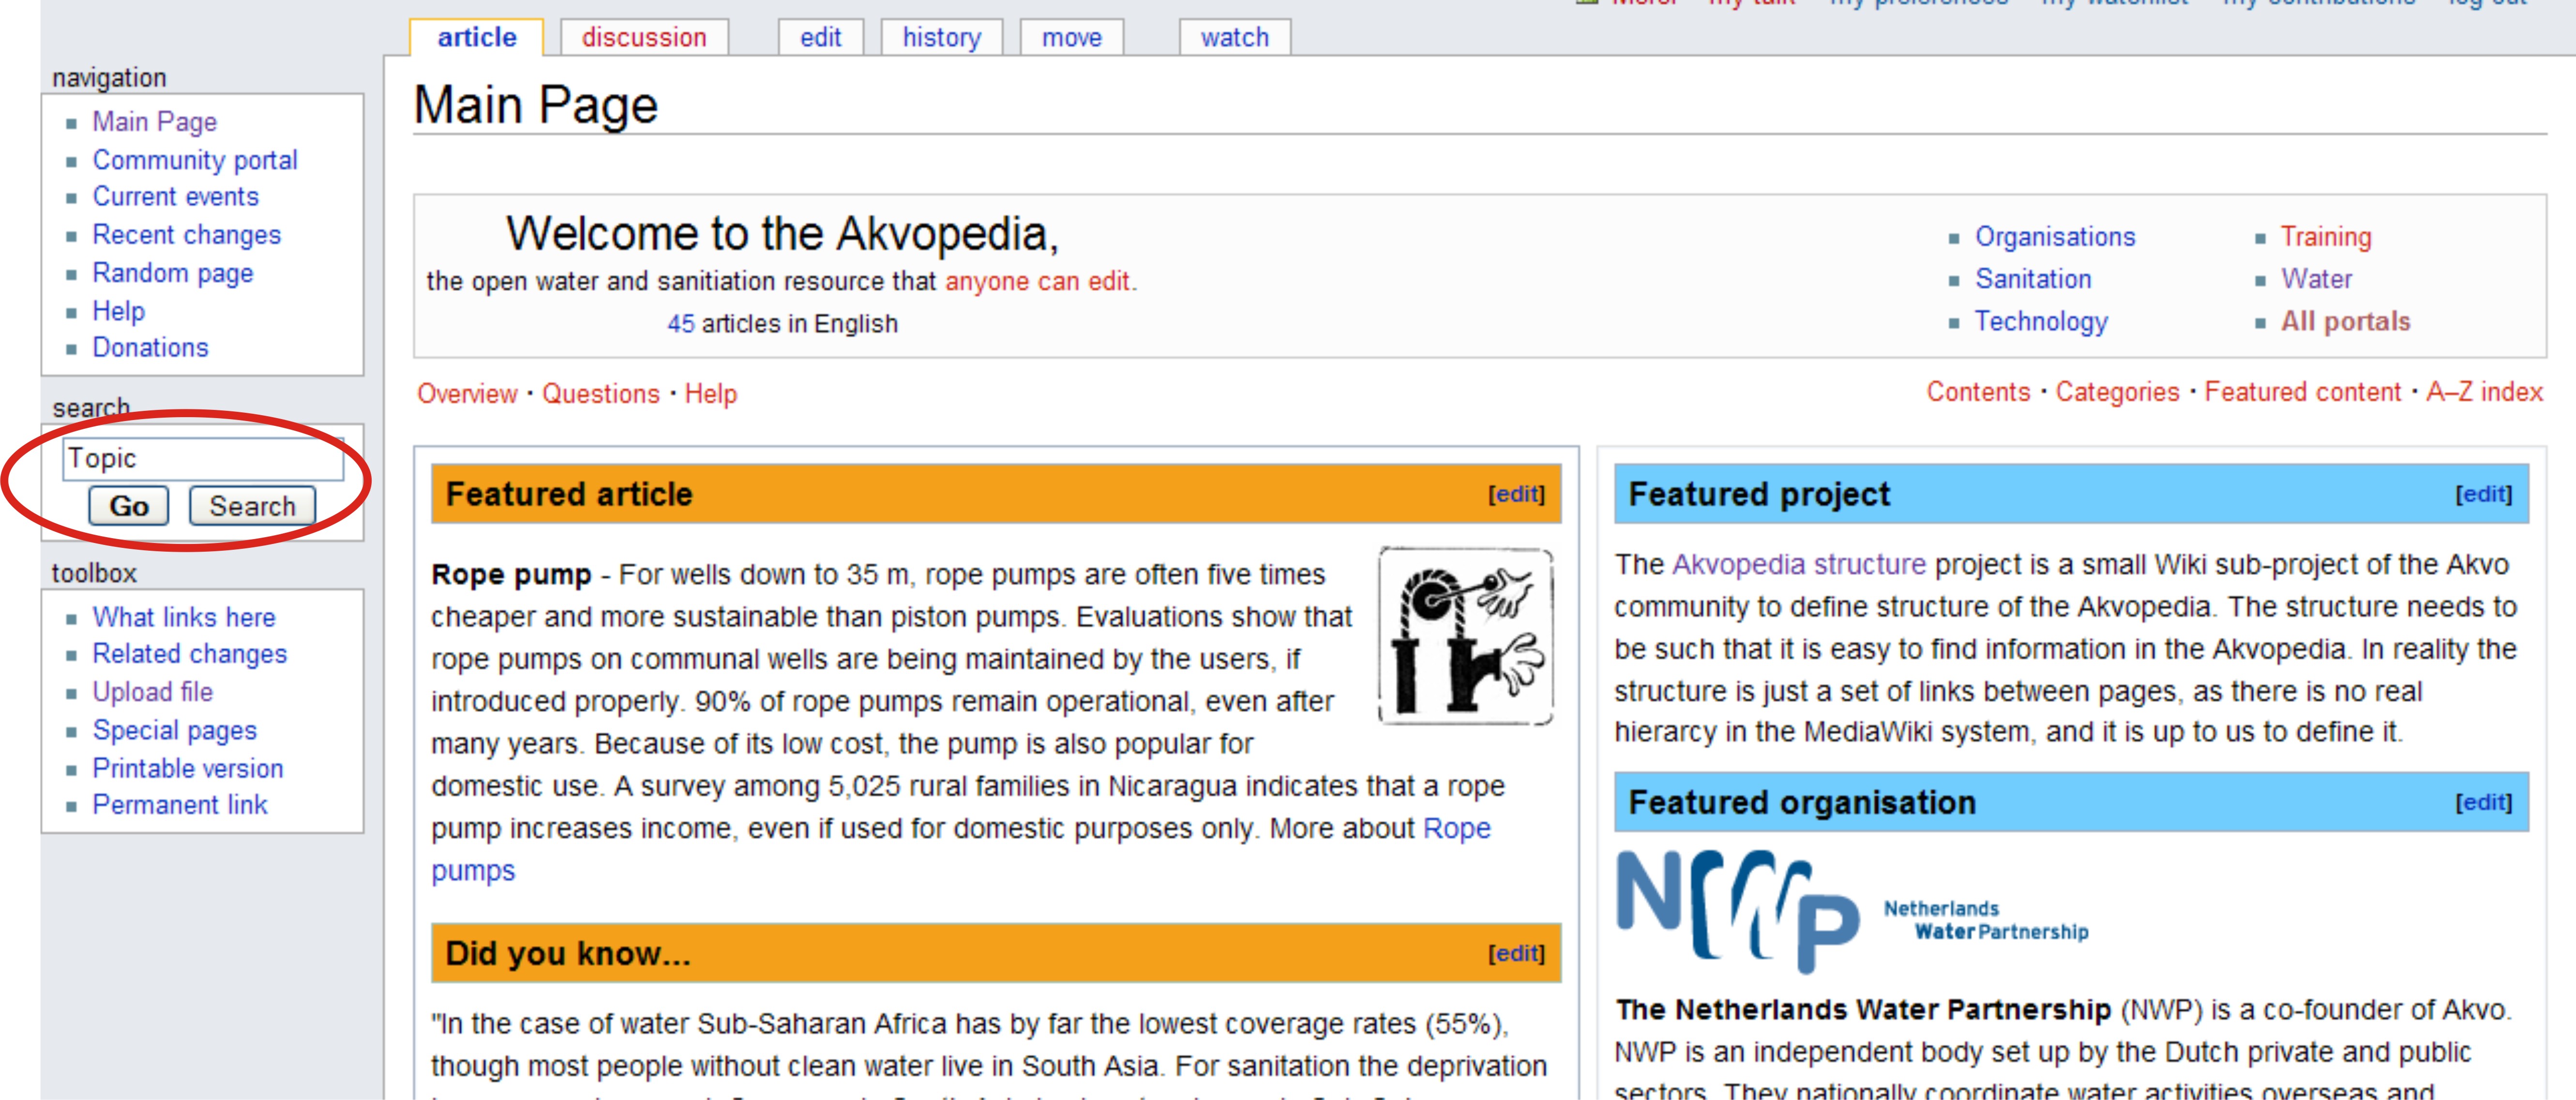
Step 1 - Creation of a page
Before creating an article, try to make sure there isn't already an article, perhaps under a slightly different name. If a search does not find your article, consider broadening your search.
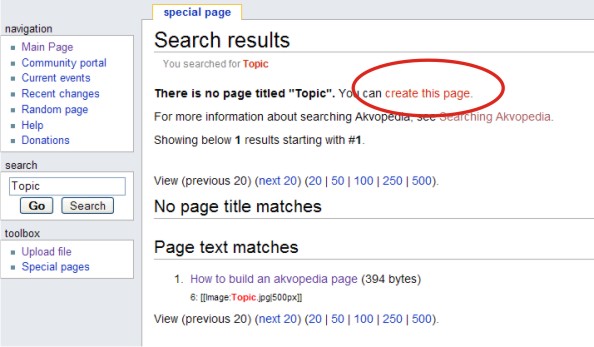
If no results are found, a page can be created.
Now, information can be added (see Step 2).
Step 2 - Adding text
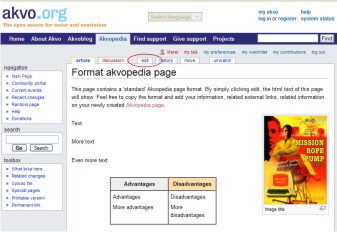
Your information can be added. This page contains a 'standard' akvopedia page set up.
Simply click 'edit'.
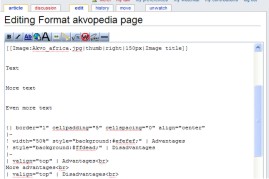
The html text (= computer language to allow website creation) of this page will then show.
You can simply 'copy' the format and 'paste' it in the new akvopedia page that you created via the search field and edit option. You can then add your information, related external links and pictures.
The page will hold the title that you entered in the search field.
Step 3 - Adding a picture
At this page information about uploading pictures is displayed. In the standard akvopedia format , the link to the picture should be changed to match the uploaded picture.
Step 3 - Preview
To see how your page looks, click 'show preview'.
Step 4 - Save page
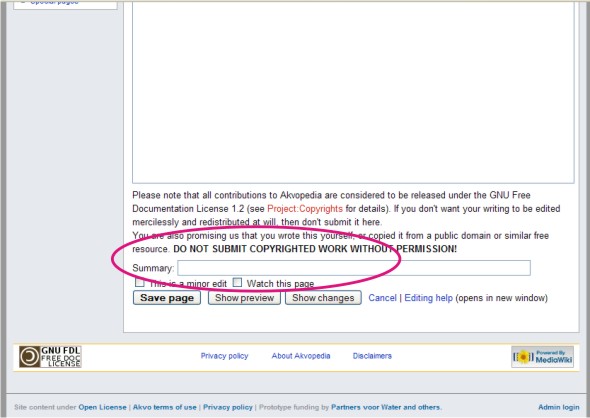
When you are content, add information in the 'Summary' bar to make it easier for your fellow akvopedia editors to track changes.
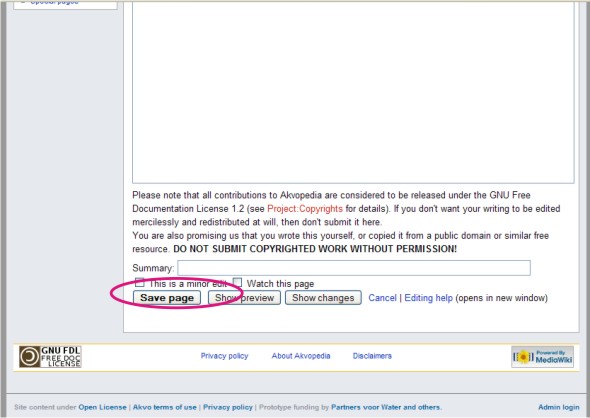
Finally, save the new akvopedia page by clicking 'Save page'.
Step 5 - Editing a page
When you want to change the content of a akvopedia page, simply click 'Edit' and change whatever you want. Then repeat step 4.
Formatting
This link contains a list of the format options.
Additionally, information on how to format pictures can be found here.
